How to Install Magisk – Magisk has become popular in recent years as more Android features have been secured with Google’s SafetyNet system. With Magisk (first developed by topjohnwu), you can have root and custom mods while still using services like Google Pay. It works by leaving the system partition untouched and modifying the boot partition. This is why it’s referred to as a “systemless” root method. It’s very easy to install once you have all the components in place.
What You’ll Need:
- A device running Android 5.0+
- Custom Recovery (how to install)
- We’ll be using TWRP in this guide
1. Download Magisk

Tech mistake | Assuming your phone has custom recovery, the first thing you’ll need is the Magisk zip file. This is the file we will be flashing in the next step. You can find the latest version of the zip at the official XDA thread. Download the latest zip and transfer it to your phone/tablet, or download it directly on your phone/tablet. An easy way to do this is to install the Magisk Manager app (found in Step 3), which will prompt you to download the latest zip that’s currently available.
2. Flash Magisk

Next, we will go into recovery mode and flash the zip. Find out how to boot into recovery mode on your device with this guide. It will usually be some combination of the power button and volume keys. Once you boot into your custom recovery, follow these steps:
- In recovery mode, select the Install button.
- Find the folder where you download the zip file.
- Select the zip file
- Swipe the slider to install Magisk
- Tap Reboot System
3. Install Magisk Manager App

The Magisk framework is now installed on your device. To manage it, you’ll need the aptly named Magisk Manager. This is what will allow you to install modules. Download the latest Magisk Manager APK here and make sure you have “Unknown sources” enabled in the Settings. Install the app and open it up.
The Manager app allows you to adjust root settings and also install modules, which are installable mods. The app doubles as a repository for a bunch of great modules that can easily extend the functionality of your device. Using the Manager app is an important part of getting the most out of this root method.
4. Verify

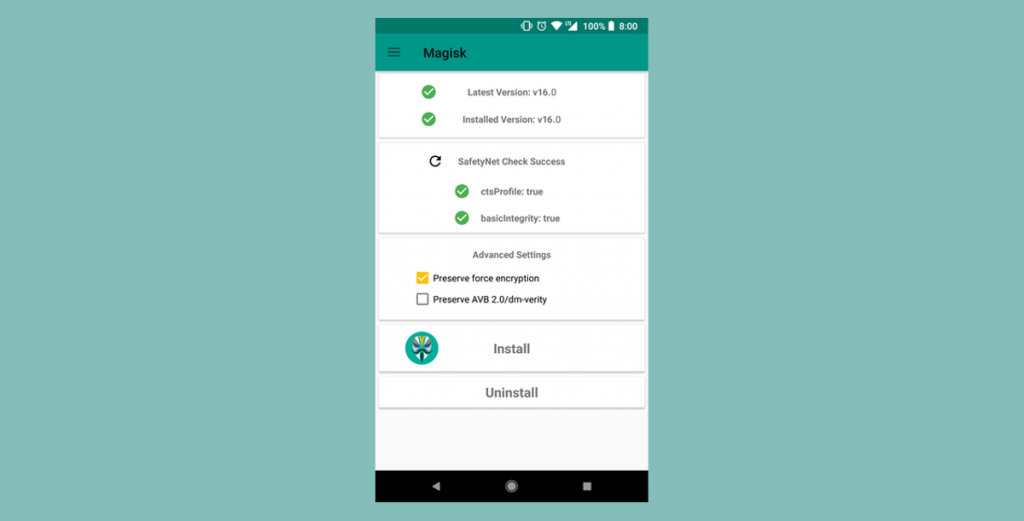
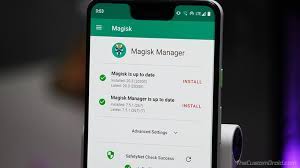
The last step is to verify that everything is working properly. Open the newly installed Manager app. We want to see a bunch of green checkmarks in the app. This means you have successfully obtained root. Great job!
Next, we want to make sure your device still passes Google’s SafetyNet check. SafetyNet blocks apps like Google Pay from working when the system has been modified. Magisk works around this by leaving the system untouched. Select the “Tap to start SafetyNet Check” button.
If you see two green checkmarks appear under the button, your device has passed the check. Google will occasionally break this with updates, but the Magisk developer will release fixes when that happens.
If you’re having issues with the installation process, head on over to the official Magisk forum at XDA. You’ll find plenty of other people with the same device and problems. The developer is also available in the XDA forum. He’s constantly updating to work around SafeNet and to make sure this method works as best as possible.
The article was originally published here.
